As far as I'm aware I'm the only guy who uses this method to produce and fit compound dovetail neck joints...
So I thought I should document it while I'm still able.
If the instrument (In my case Ukulele) has a flat ended upper bout then the joint isn't much of a problem
and it is well documented already on how to achieve a good fit.
But if the upper bout has a radius as mine do, then the fitting becomes more technical.
(As I build my instruments in batches of 10-20 at a time it makes it worthwhile to tool up and perform the same repeat operation on several necks at a time while i've have the set up...If I was just making one off instruments then I'd probably just do it the traditional way) the photo's are from different batches i have made over the last couple of years but the method remains the same.
~~~~~~~~~~~~~~~~~~~~~~~~
There are three main constants that have to be considered...As in the diagram below they are angle "A" angle "B" and radius "C"
These dimensions will vary on different instruments and can be calculated by using simple trig:
Or just measuring them with a protractor from your own scale drawings.

Most builders and Luthiers cut these joints by hand using saws and finish the fitting with a chisel' and deft use of abrasive strips slid between the the mating surfaces of the joint.
this can very time consuming and takes quite a lot of skill...
So I have managed to get round this difficulty by designing a jig set up to produce this joint by machining alone.
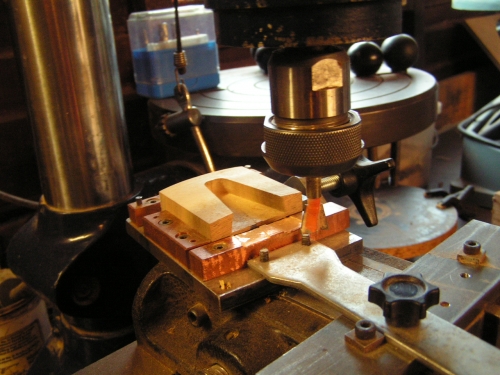
THE FEMALE PART OF THE JOINT.
(THE HEEL BLOCK)
I machine the dovetail for this in a milling machine with a two postion jig I made some years ago.
This dovetail can be cut into the block after the body part is glued together...But I prefer the more modern approach of cutting it into the block from the start.
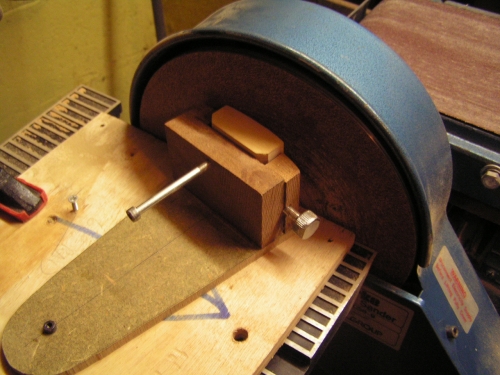
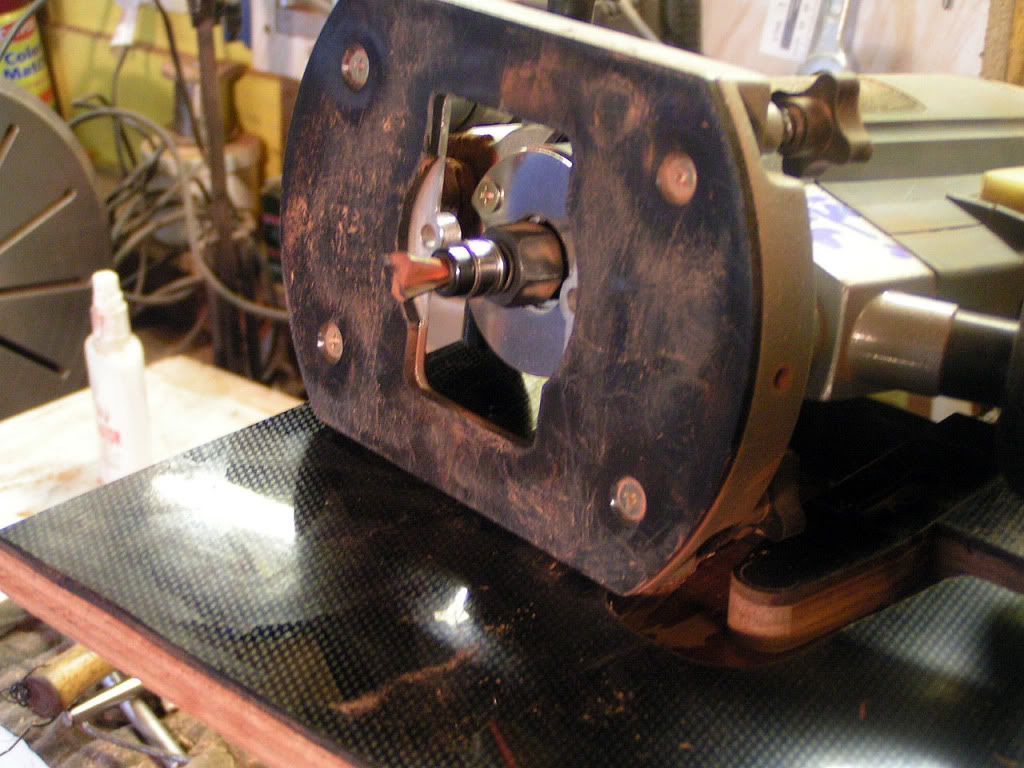
Following the machining of the dovetail I radius the face with a simple device on the disc sander
(nothing new with this method)
NEXT
THE MALE PART OF THE JOINT
( HEEL NECK DOVETAIL )
I start with a neck blank and make sure the end is square at 90 degrees to the fretboard mounting surface.
I machine this in a router template setup like many other builders do... but this has to be set at angle "A" as in the sketch.
This angle is important for the next operation "cutting the relief cheek radius" also I use the left hand edge of the roughed out neck as a set datum to the center line of the dovetail to be cut.
Here is the router template set up.
Router top view
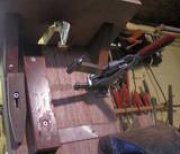
And here is the router in position ready to start removing surplus material
Here is a view of the dovetail cutter that i'm using
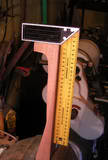
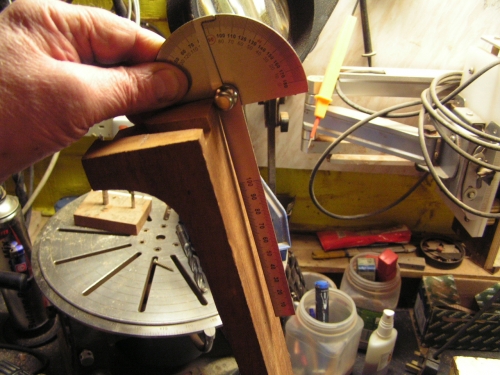
Following this operation, the dovetail at this stage looks like this one I made this summer
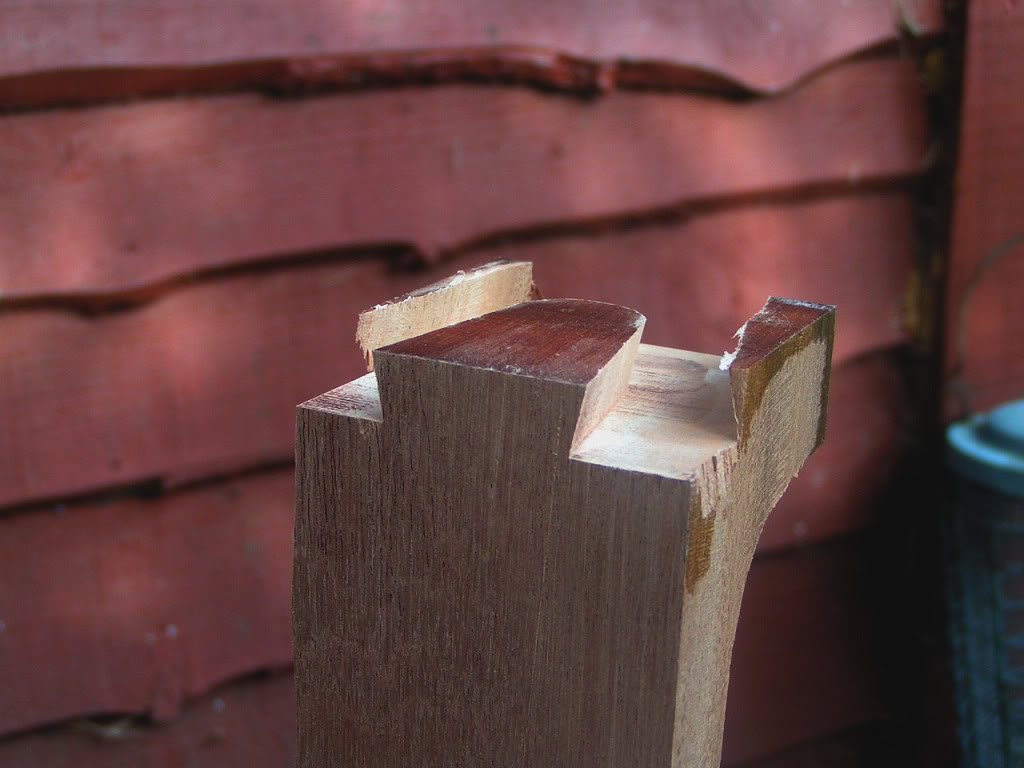
The angle is checked with the protractor..in this case it should be 2.5 degrees
NEXT
CUTTING THE RELIEF RADIUS
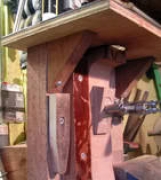
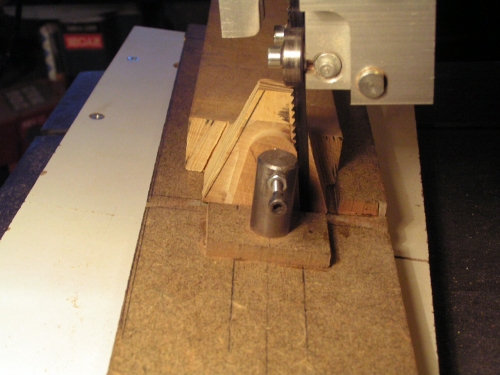
To achieve this (usually difficult bit), I designed a set up to be used on a bandsaw..or scroll saw
It is made in two parts. The bandsaw blade for this operation is being used more like a file or milling cutter, using the side of the blade teeth set to obtain a smooth finish, so I find it best to use a brand new sharp blade for this. (a 1/4" blade at 10 TPI works just fine The pic below shows the jig mounted in postion.
The bottom part of the jig is made sloping crosswise at the same angle as angle "B" in the sketch...The lower fixed board is clamped down in position by use of "T" nuts and capscrews into the "T" slots in the saw table
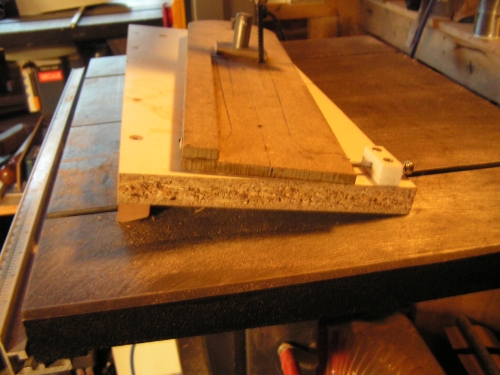
The top part of the jig slopes downwards at angle "A" lengthwise... but it also swivels on a radial axis equal to Radius "C" (In this case 5.5" radius). Note the two adjustable end stops at the corners of the lower board.
Before any machining can commence the jig lower board needs to be accuratly set up to the bandsaw, it has to be central and square to the saw blade.
Then the top board is re- fitted and end stops adjusted, to prevent undercutting into the dovetail nose..
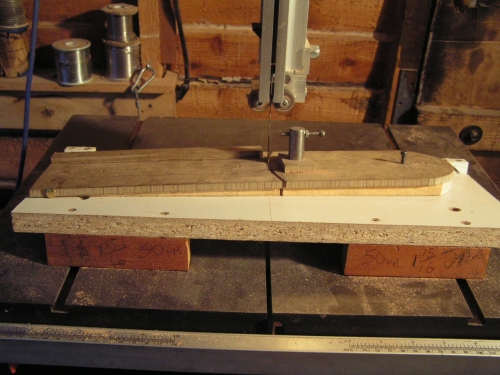
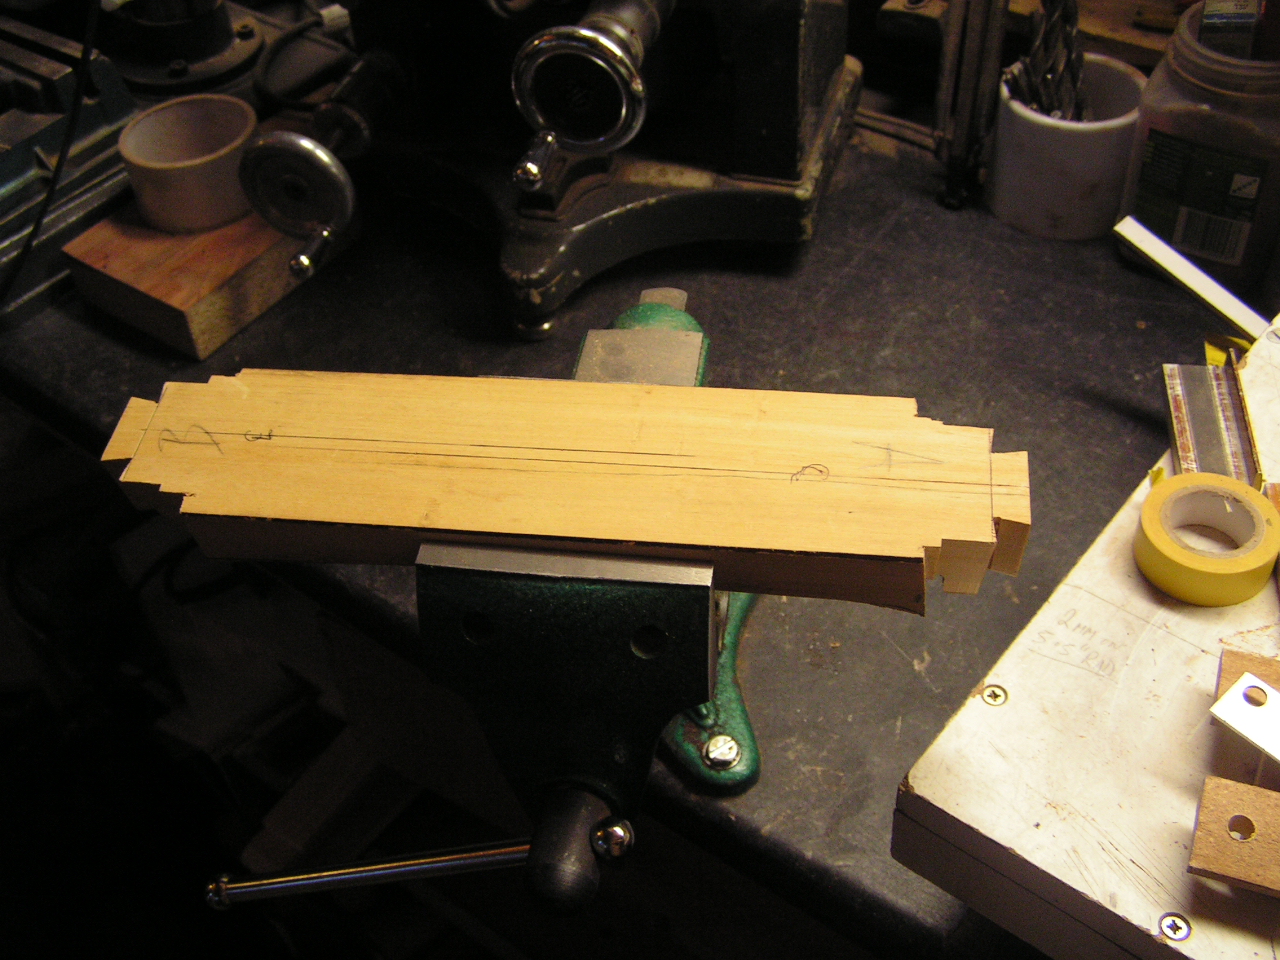
For this operation I make a dummy test piece from scrap wood, to eliminate eny errors before I start machining the real thing...I make it double ended so I can have more than one go at getting the set up right.
Test piece being cut to test set up.
( The adjustable screw stop in the centre of the jig is for fine ajustment if needed)
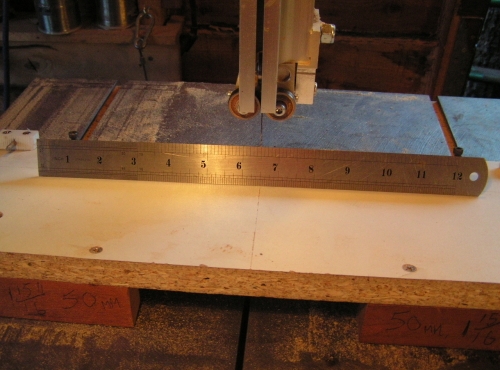
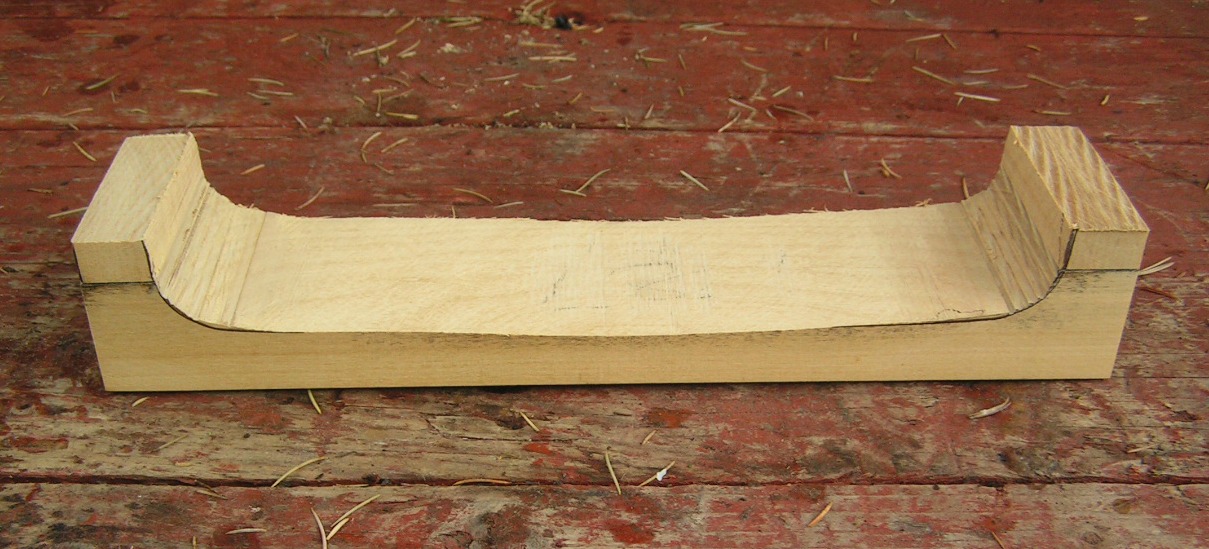
Test piece completed
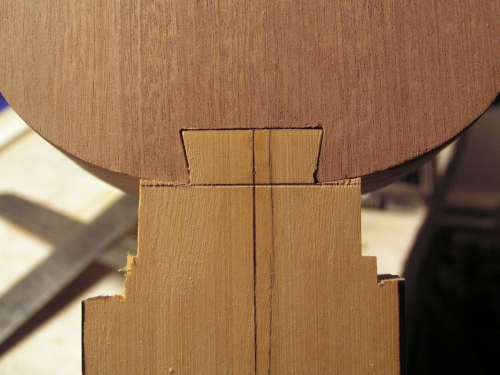
So following the machining of the test piece i do a test fit with it on a fully constructed uke body, and give it a dimensional survey to check that everything is in line
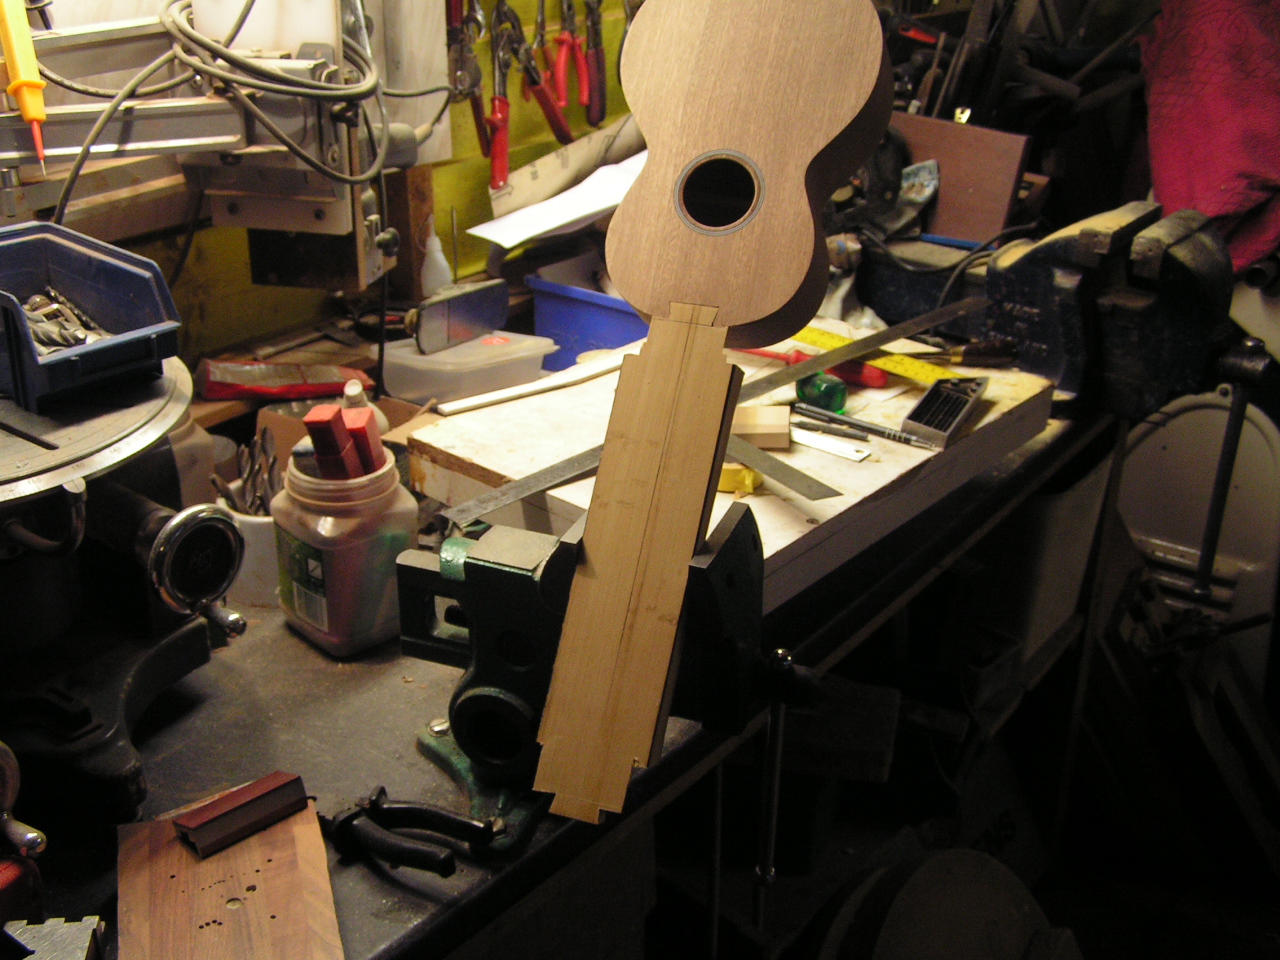
As mentioned earlier..I cut these dovetails while the workpiece is in part billet form using one edge as a datum... the datum is a set dimension from the centre line of the neck ( in this case 30mm)... I endevour to make all these sopranos to the same dimensions so all necks and bodies will be interchangable....Here is a close up of the test fit.
.
P.T.O. to page 2